Recording educational videos with OBS (free alternative to Loom + Camtasia)
It's not just for livestreamers.

I've wanted to record training videos at work for a while, as I've spent quite a bit of time doing group and 1:1 trainings with people on various software like Clearstream, Basecamp apps, and Google Workspace. I love working with people 1:1, but it's not scalable. Plus, memory is fallible, and if my colleague forgets which button to press or key to clack, guess who'll have to give an impromptu lesson?
Yours truly.
I wanted to configure a simple setup in Open Broadcast Software that would allow me to quickly and easily create instructional videos with the following characteristics and parameters:
- Picture-in-picture view of me in the corner because it make instructional videos feel much more personable.
- Background blur without resorting to using a hacky solution like recording a Google Meet room or something that requires expensive or external hardware.
- Embedded captions for accessibility and better UX for all people, hearing or not. I love captions.
- No paid software. I'm trying to avoid Loom and Camtasia. Both are great products, but if there's a choice between paid and free, I'll choose the free route, even if it requires a bit of configuration. At time of writing, Loom is $150/year for their Creator plan, and Camtasia is $179.88/year for their Camtasia Essentials plan. That is excessive given the wealth of free and open source tools out there.
I've recorded similar videos in the past—sometimes with Loom, sometimes with OBS, and sometimes with good ol' Quicktime, but I wanted something better, not necessary livestream style, but something pleasant to film and watch.
I recently noticed that David Heinemeier Hansson has been demoing some of his recent projects like Omakub, Kamal, and Campfire using a setup that made me think Oh, hey, he's probably using OBS… I credit him for inspiring me to take a deeper dive into this approach.
Hardware + Software
Hardware
They say audio is 60% of video. A decent mic is very helpful in cutting down on room noise. The camera is less important, and good lighting will help even lower-end cameras pull a better image. You could also use your phone, GoPro, or another external camera as an external capture device. I recommend finding something with minimal setup, which for me is a built-in webcam.
- Built-in Macbook Pro webcam (anything HD will do, even a smartphone)
- RØDE VideoMic NTG shotgun mic on a Manfrotto-mini-tripod, it's a great mic that can connect to laptops via USB.
Software
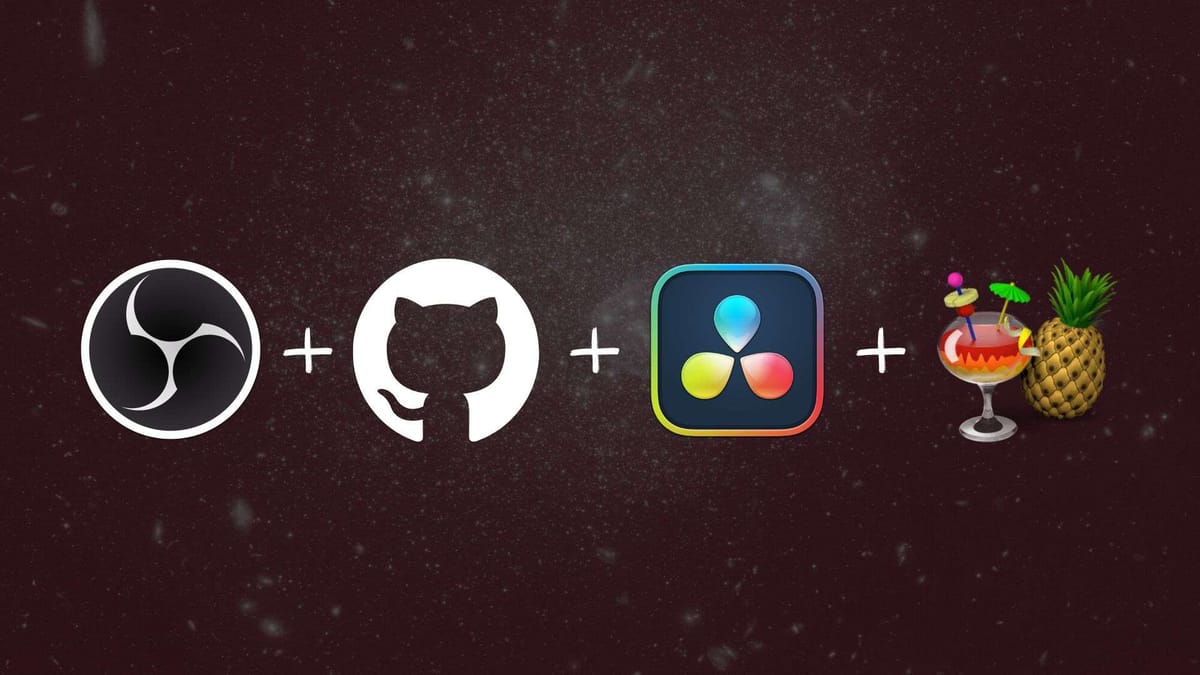
- Open Broadcaster Software, for recording the video (download on the OBS website).
- Keycaster, for highlighting mouse clicks and displaying keystrokes (free download from Github—Mac only).
- Locaal AI Portrait Background Removal / Virtual Green-screen and Low-Light Enhancement Plugin, for blurring out the background (free download from Github)
- Blackmagic Design Davinci Resolve, for post-production (may not be necessary depending on your output).
- Whisper from OpenAI, for audio transcription (check out my post on install and usage).
- Handbrake, for adding the transcription file to the exported video (download on the Handbrake website).
Filters in OBS
For my videos, I ran a Noise Suppression filter in OBS on the audio channel, and I think it did pretty well out of the box. I recorded in a noisy room with a server rack running cooling fans, and the audio turned out well enough that I didn't feel the need to do further editing.
I didn't run any video filters because I want the screen colors to be true to life.
Workflow
There are always a bazillion steps in recording any video, but this is the basic process:
- Configure scenes in OBS for the different views you'd like to show.
- Map the scenes to hotkeys. I used the number keys 1, 2, 3, and 4.
- Record the video.
- Use Davinci Resolve to add titles and fades (if desired).
- Export to a standard H.264 file.
- Run the video file through Whisper in the command line to generate an .srt file.
- Use Handbrake to add the transcript file to the video.
- Final export and upload to storage.
This seems like a lot of steps, but once you complete 1 and 2, the rest is pretty easy. Running a paid version of Davinci Resolve would allow me to generate transcriptions right in the app, but I'm happy saving $299 and just having Whisper do it for me.
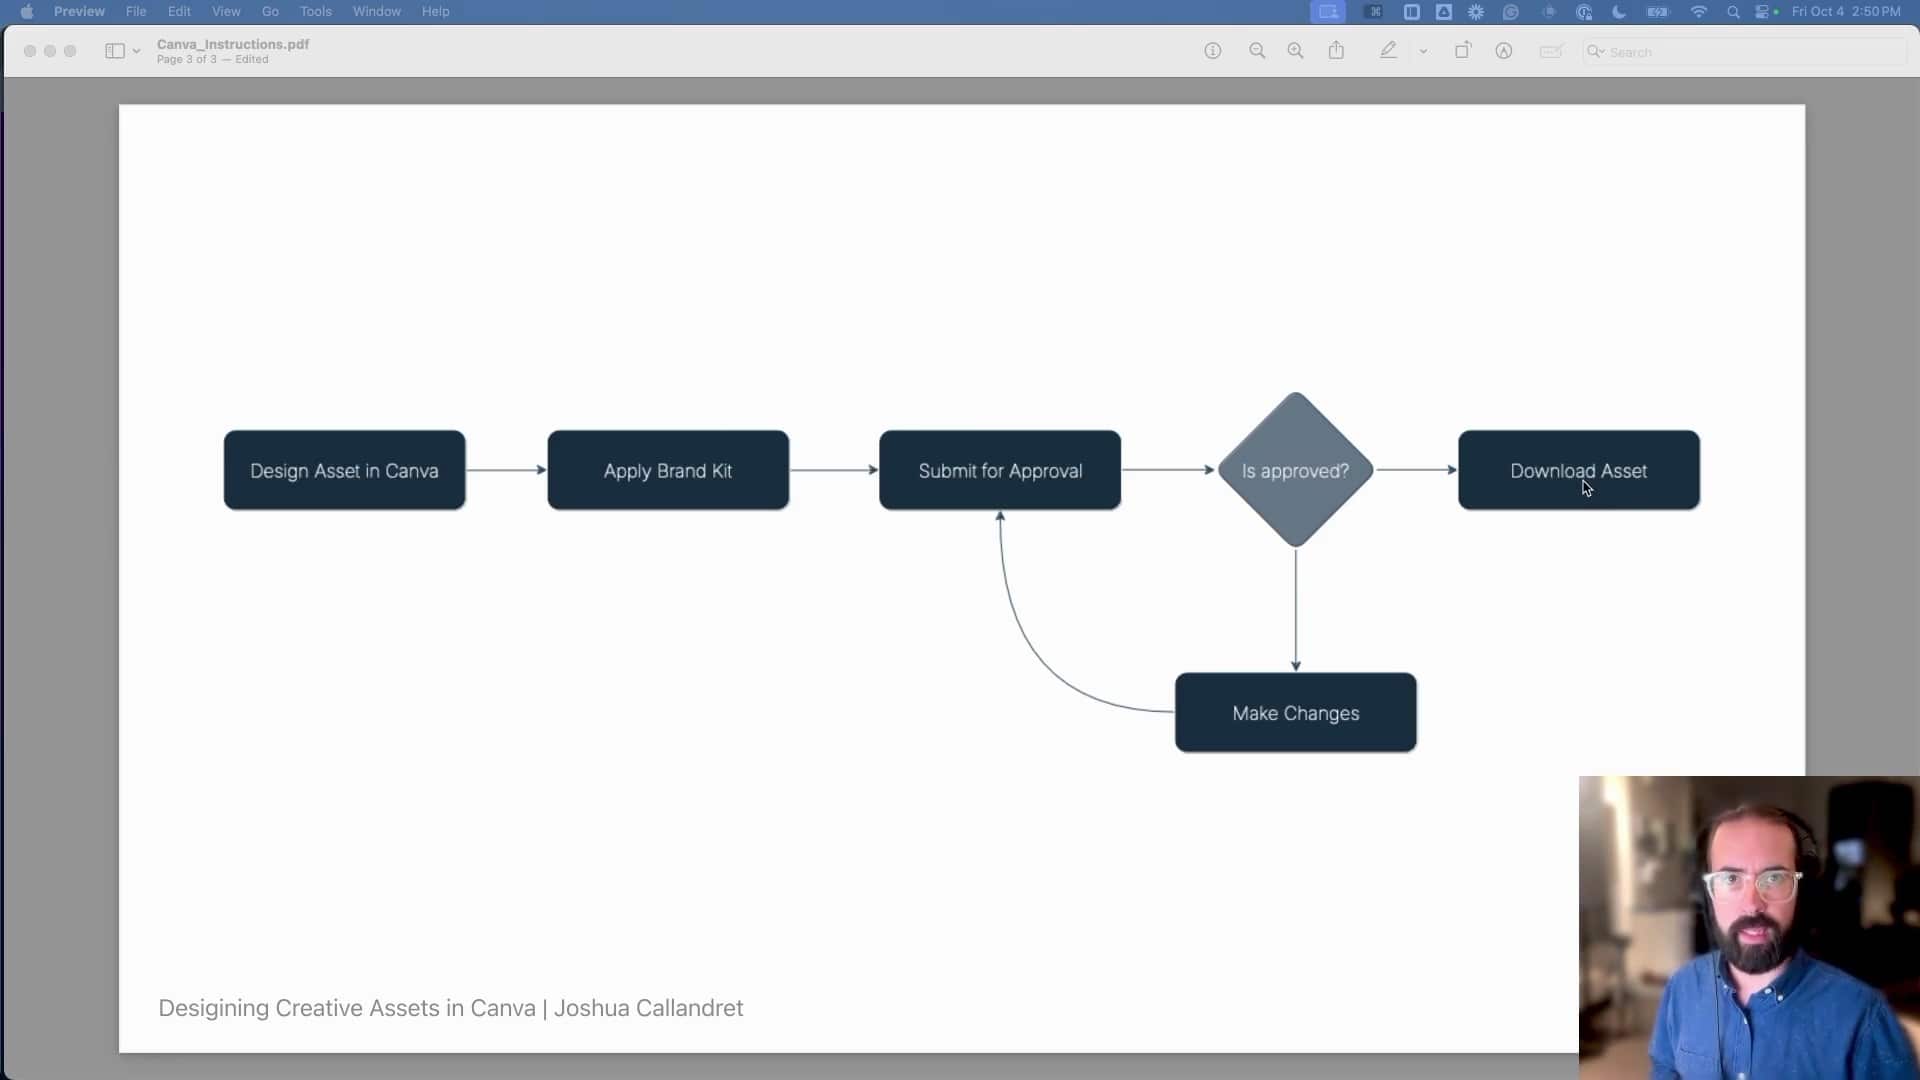
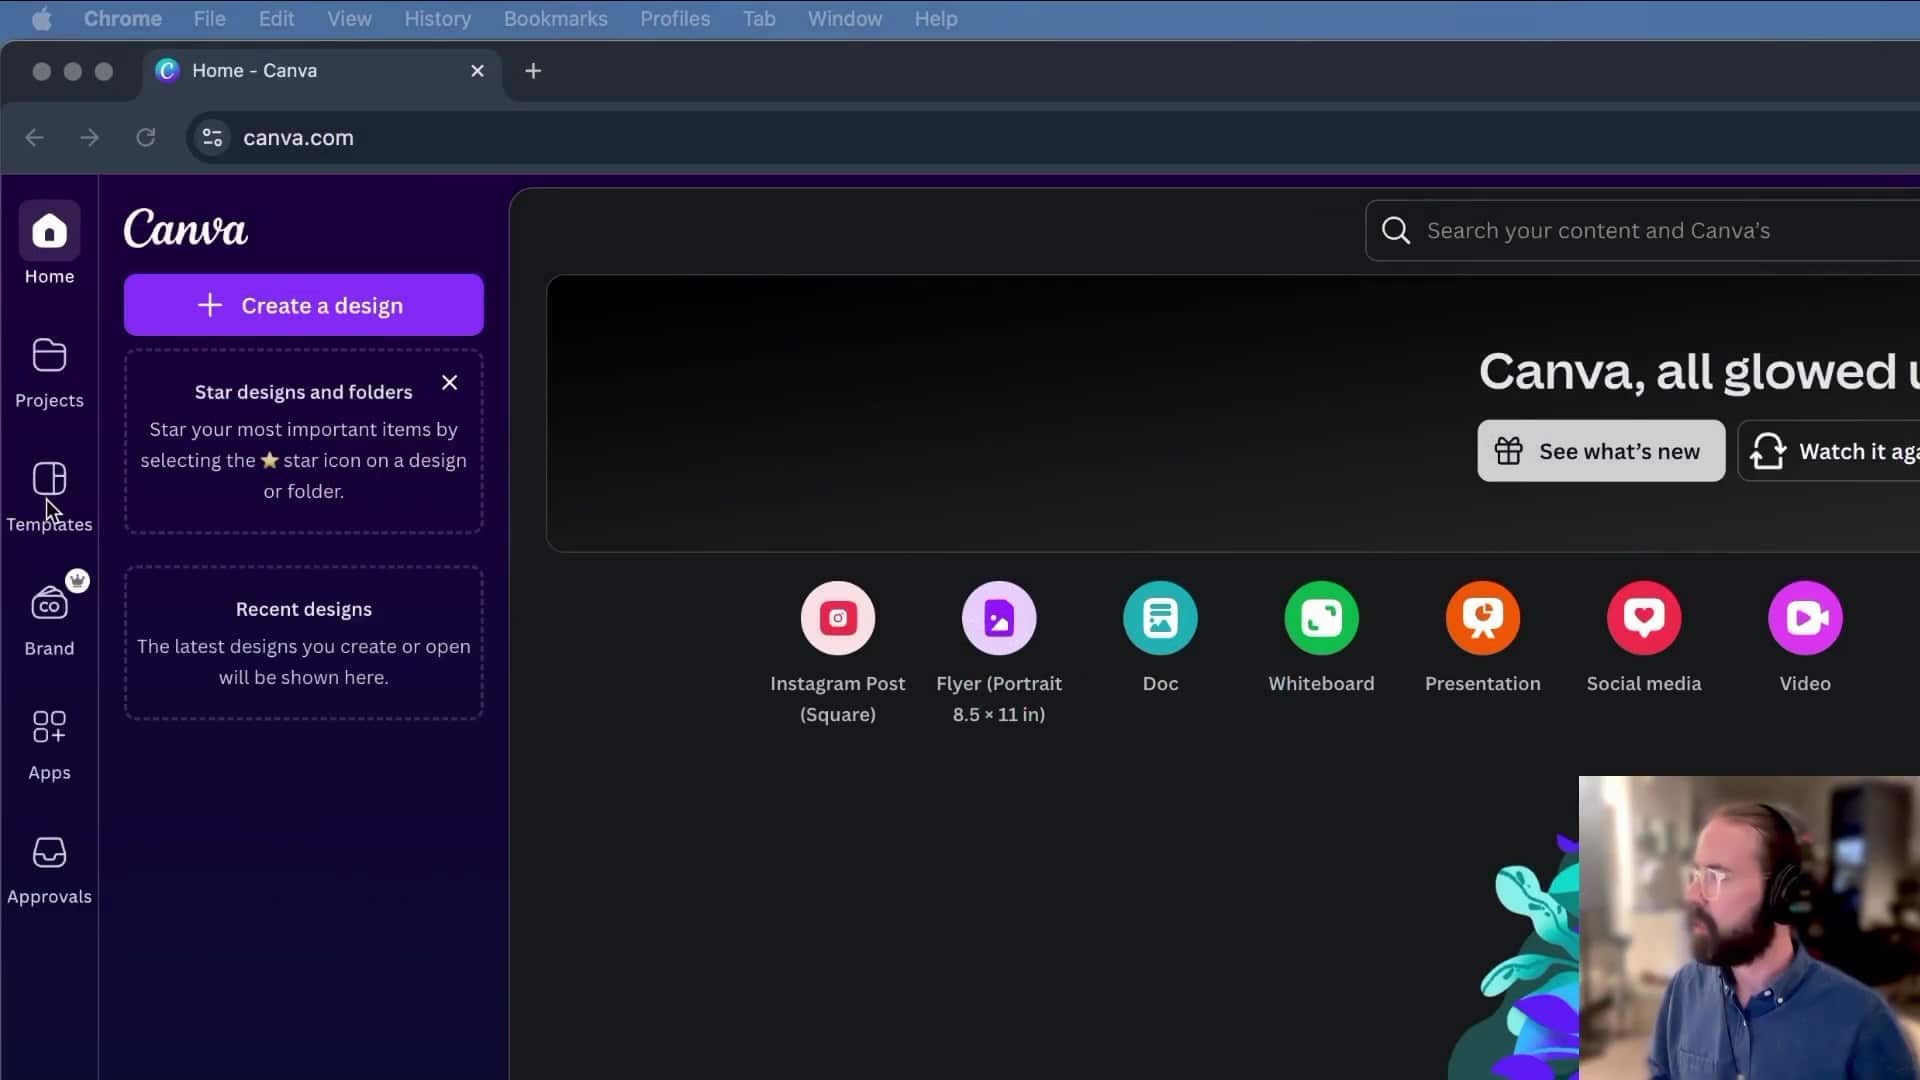
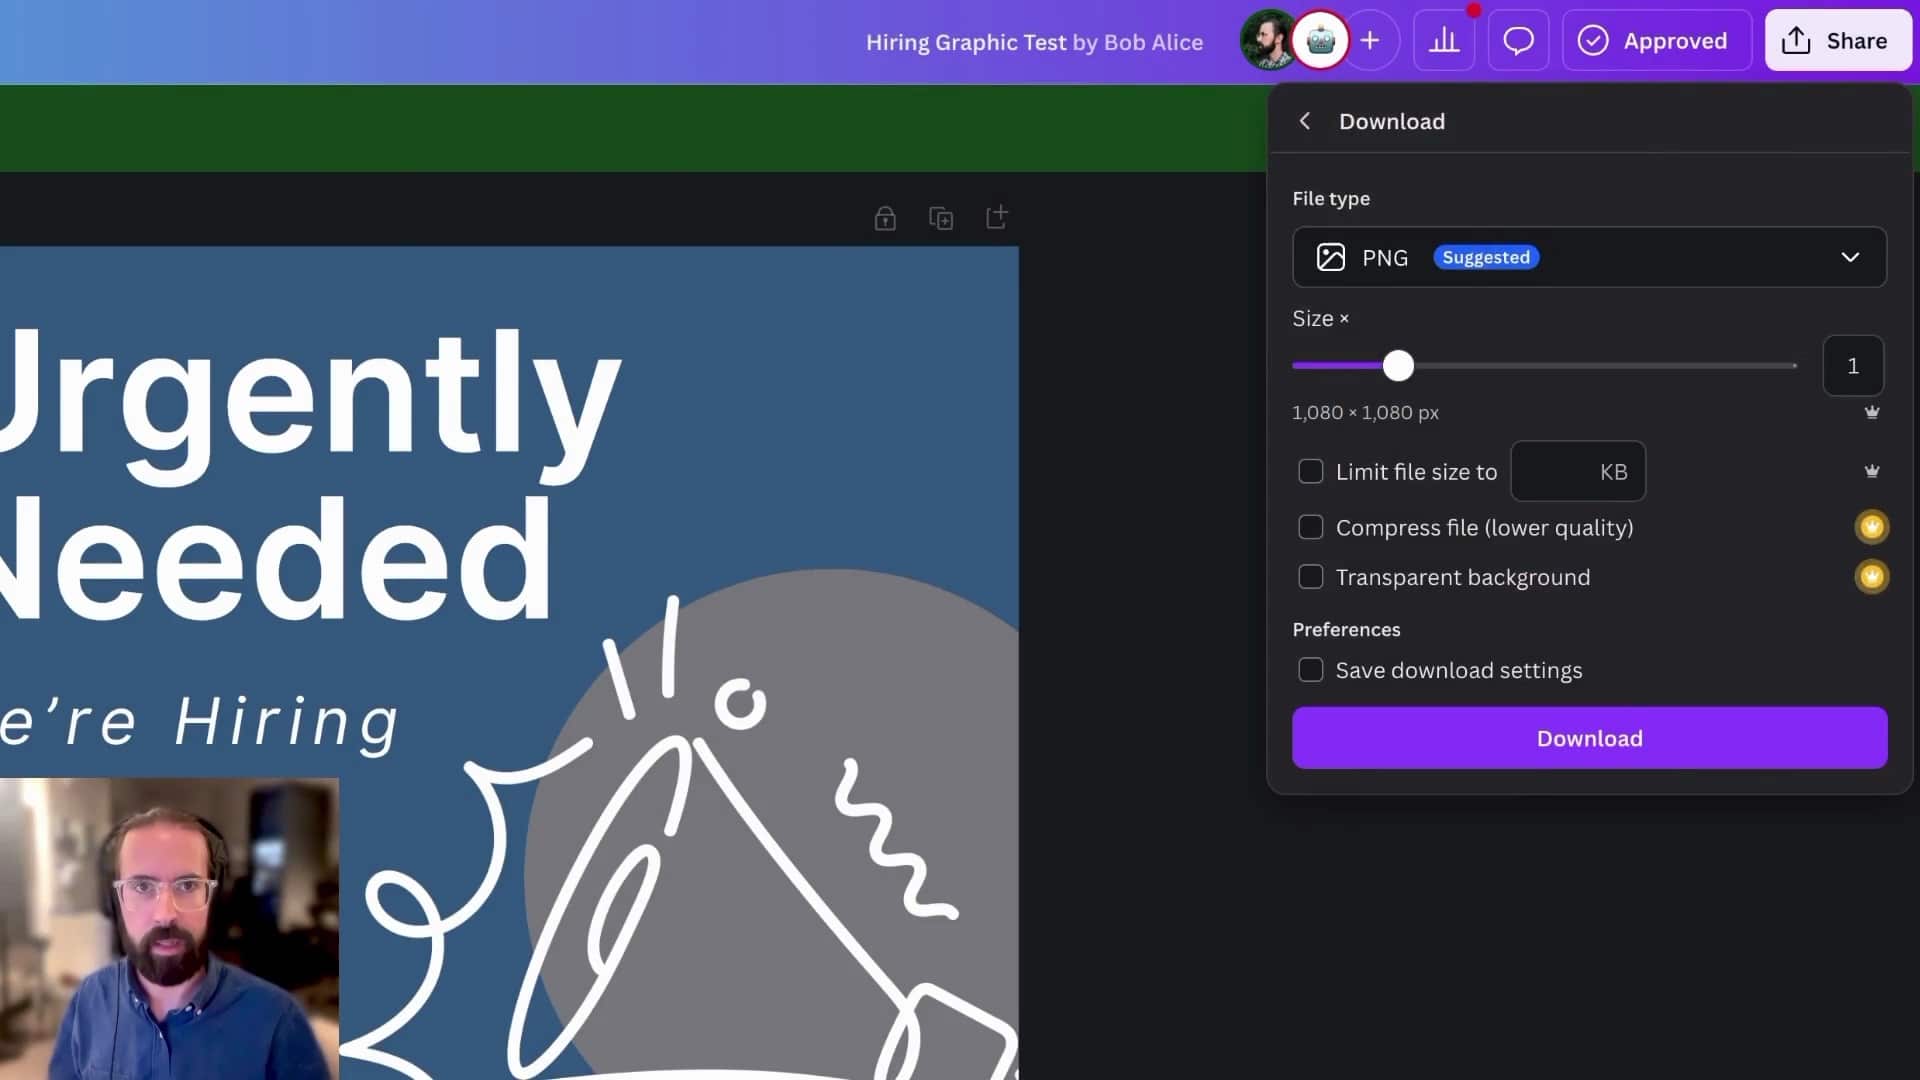
Examples screens from a tutorial video
There was a decent learning curve for me to get everything set up, but once I got it, I loved it. Setting up scenes in OBS gives you much more control than Loom in that I was able to set up scenes that focus on different corners of the screen to help highlight menus and buttons for the viewer.
Notes on Video Sharing
The place where Loom really excels (I can't speak for Camtasia), is the seamless upload of recorded videos and instant sharing link generation. For my purposes, I wanted to upload my videos to a Shared Drive in our church's Google Workspace account.
I discovered that uploaded videos display in a player that's pretty much indistinguishable from the YouTube player and includes speed controls and a captions toggle. That is enough for my application. I can set the sharing permissions within Google Drive and generate a sharing link right there. It's an extra step to upload a video, but it's many extra steps when Loom uploads a botched take of a video and I have to delete it from my account. I prefer the approach of uploading videos that are production-ready.
If you're looking for a Loom or Camtasia alternative, I definitely recommend this approach. The only cost is a bit of your time.
Background image: "NASA’s Hubble Presents a Holiday Globe of Stars" by NASA Hubble Space Telescope, Modifications: greyscale duotone filter applied is licensed under CC BY 2.0 Logos are from Open Broadcaster Studio, Github, DaVinci Resolve, and Handbrake. Logos are included for illustrative purposes. Rights are reserved to the authors.